Sunday, August 8, 2010

Orc


I decided to make a counterpart to my profile picture dwarf. I figured it was a shame to have such a bad @ss hammer with nothing to pulverize. This poor fellow was created for just that purpose and will be added onto a mini-diorama similar to Dimlit's. He comes in at 28mm tall and used less procreate than SgtRico. I tried using a heavier armature wire (18 gauge, yeah wow!), surprisingly it worked very well for this chunky type mini.

Hope you enjoy the pics!

Thursday, June 3, 2010

Dimlit Thenotsobright (finished)


Dimlit is finally finished. I decided to sculpt a stone bowl pipe in his right hand and added some patches to his cloak to show his self sufficiency more.
He and his pack were painted using Vellajo (Flames-of-War) and Citadel paints (Games Workshop) over a black primer coat of Testers dull black model paint. I also used a light black wash to add some shadow to both.
He is based on a walnut stained pre-cut display base from Michael's which I added a real rock and sand that I painted and also some medium green flock.

Hope you have enjoyed reading about this project. There are more to come!

Feel free to email me questions, comments, or concerns!
Grendal@theredaxe.com

Thursday, May 27, 2010

Dimlit Concept

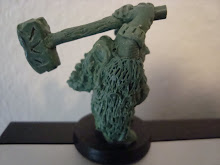
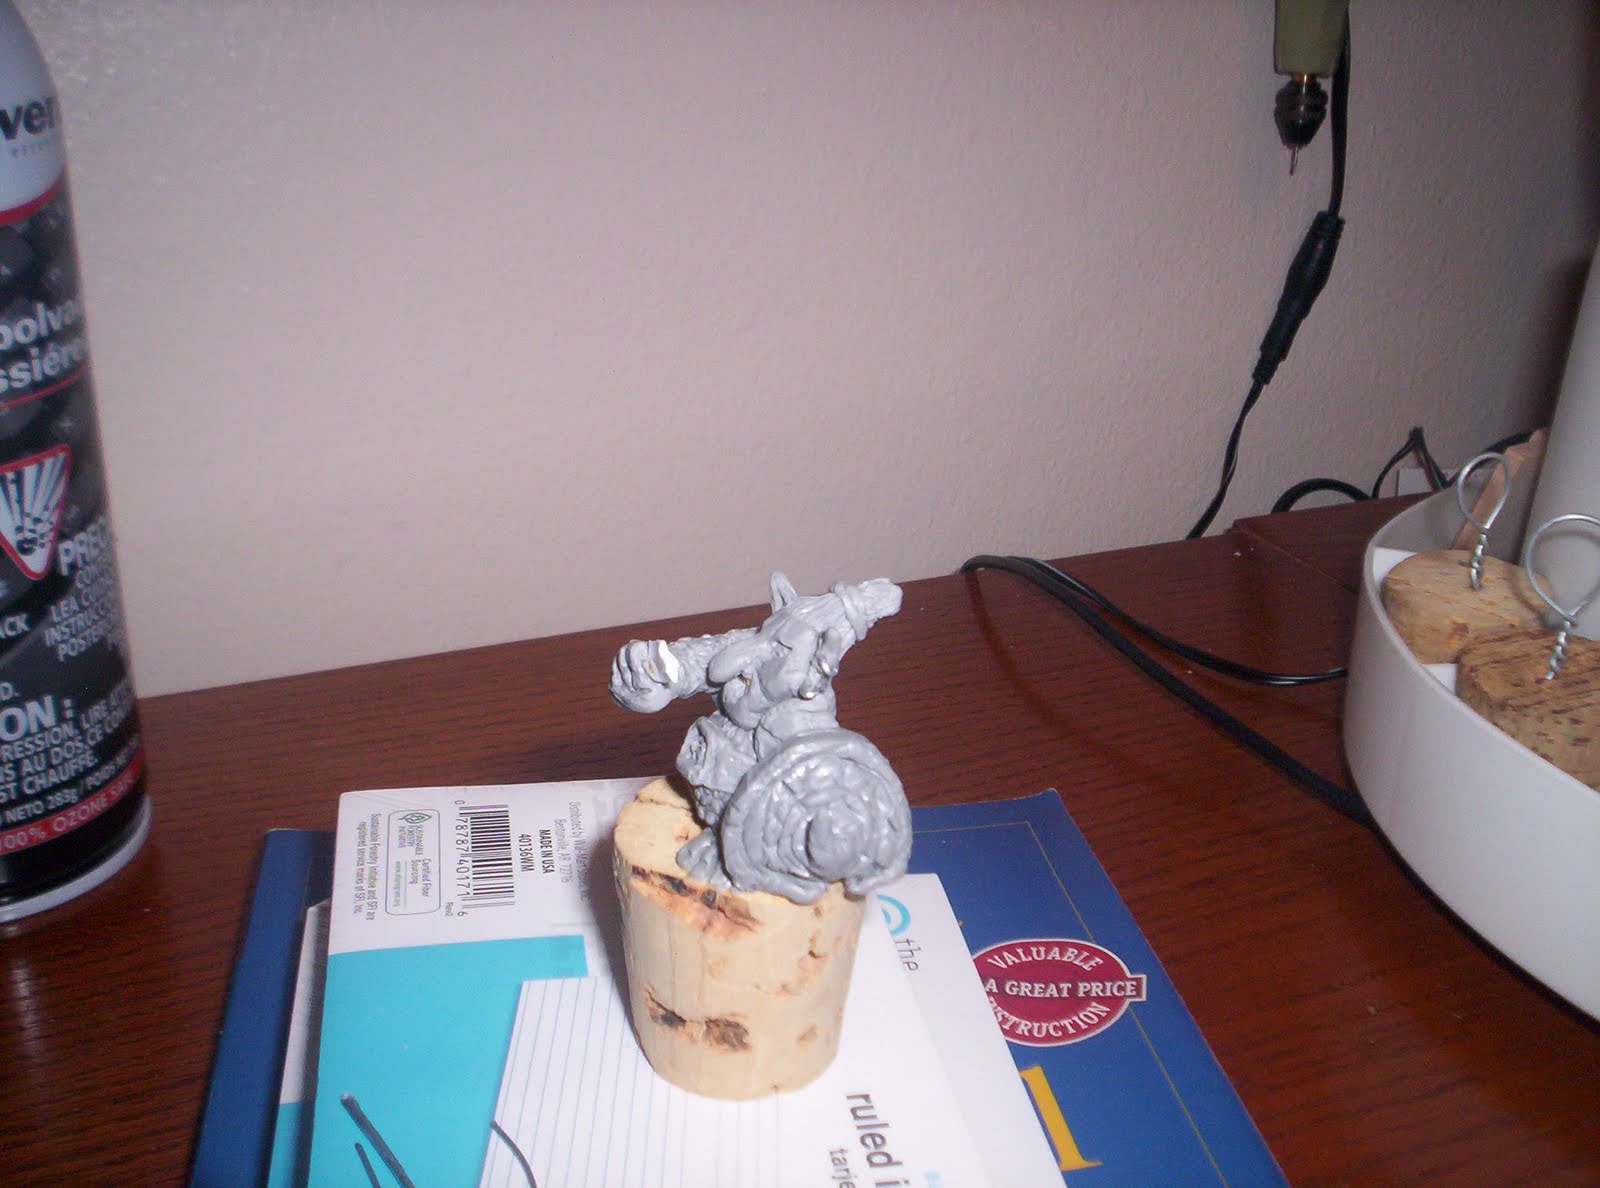
Dimlit is a persona created by a good friend of mine over a decade ago for a pen and paper Rolemaster Middle Earth Dwarf campaign. Through the years since Dimlit has made appearances in numerous online games as well. I decided it was finally time to imortalize him in epoxy.

Dimlit was a fun project because of his excentricities. Dimlit Thenotsobright killed a buck deer on his first adventure and decided to show his prowess by attaching the horns to his helm. These horns became his trademark identity.
Dimlit also carried a human sized pick axe converted into a war mattoc. He used this the night after killing the deer, and attaching its horns to his helm, to slay a troll I sent to kill him (to teach him a lesson). In any other system he would be a distant memory, but Rolemaster loves the weak and lucky roller.
Another of Dimlit's iritating traits was that he wanted to be a jack of all trades. He carried a little bit of everything in a huge backpack that he "always dropped before entering combat so I am not encumbered". Somehow he always wanted to produce things even when his backpack was allegedly outside somewhere laying in the grass..

I hope this sculpt captures the essence that is and was, Dimlit Thenotsobright.

Dimlit Sculpt start


Dimlit will be sculpted to be dwarf size at 80mm scale. This means he will come in at 55-60mm in height himself. I choose the large size since he is for display and not gaming.


The tools I will use are:

Dental type metal sculpting tools for actual sculpting (set was bought online for cheap),

Rubber tipped clay shapers for smoothing and organic detail work (set bought online cheap), xacto knife (both sharp a dulled). Sharp one for cutting epoxy from strip and removing joined epoxy area in center of strip before mixing and dull one for sculpting straight edges. The dulled blade is permanant and has been glued in that old knife. I dulled it using a grinder but you can do same with sandpaper or whetstone.

Epoxy "Greenstuff" or ProCreate ("greystuff") are the two most common for basic miniature sculpting. You can find everything you ever wanted to know about these using google.


I will use a few other handmade objects later but I will explain them as they are used.

Dimlit armature


The skeletal framework used to strengthen a sculpted figure is called an armature. In this case I make my armature using 22 Calibre floral wire I bought at Michael's craft store. There are half a dozen wire armature methods that do not require soldering, and half a dozen or more that do. Use google and find the style you like or buy premade armatures (tiny metal litteral skeletons of figs you apply your epoxy to). The "legs" have been shoved into a large fishing cork, I bought at Bass Pro shop, and then superglued in. The cork gives you something to hold while sculpting or to clamp in a vice. The loop will eventually be cut and folded out for arm support, while the upper stub is for the neck and head and the lower stub will be snipped off later.

Dimlit gets feet


Most sculpters start from the feet up, and I am no exception. I begin by sculpting some boots for Dimlit. Since his baggy pants will cover all but the tops and sides of the front of the boots I am not concerned with detailing the ankle/heel area.

Dimlit gets underpinned


To make the legs and lower torso easier to sculpt I use a process called underpinning. This allows me to build up an area without having to sculpt details into large chunks of epoxy. I slowly build up the basic underlying structure, let it harden, and then add detail onto smaller applications of epoxy over this base.

Dimlit gets pants


I then sculpted some baggy pant legs. The top of the pants wasn't bothered with since it will be covered by his armor. I also cut the "ring" of wire to later be bent outward for the arms.

After completing the prior sculpting I became impatient and used a lightbulb cooker to quicken the curing time. I accidently cooked him too long turning the epoxy brown. I carefully examined him and decide no major harm was done. I am not planning to create a mold out of this figure later so visual integrity (after painting) was my soul concern and not ability to handle heat and/or pressure.


A light bulb cooker is simply a shop light type lightbulb with clip (9 bucks at DIY store) and an old washed out metal paint can or metal box. You put the epoxy to be cured in the can/box and then the light buld over it to SLOWLY warm it. This type of epoxy will harden fatser under heat and slower when cooled.

Dimlit gets Scalemail


I add some chest underpinning to add some bulk and then add a layer of epoxy for his armor. Using a small plastic tube (cut down to form a "c" on the end) I sculpt the torso scalemail. I add a channel around the midsection where the belt will be. If this wasn't added, the belt would appear unnatural.

Dimlit gets a belt


I now place a rolled out and flattened strip of epoxy into the groove I made in the scalemail. I add a small concave to simulate tightness. I finish the belt with a couple of accessories (money sack, smoke pouch, and fancy belt buckle).

Dimlit gets arms


I starting with underpinning around the wires from the armature I left for arms using my remaining greenstuff epoxy. I then begin using my ProCreate epoxy and sculpt arms complete with scalemail and gloved hands. I also go ahead and place his war mattoc haft into his hand. The haft is made of hand rolled Milliput epoxy (hardens VERY hard and can be grinded easily) with ProCreate used to sculpt a leather hand hold wrapping on the bottom. I also use an xacto knife to whittle the top down so the war mattoc head can be superglued on easily when the time comes.


You will have no problem using greenstuff and ProCreate together (except it looks funny). You can even mix the two during activation to combine some of the expoxy properties of each!

Dimlit gets a cloak


Starting with a cloak shaped basic underpinning I then build it up slowly and sculpt folds into it.
Later I will add more volume and a couple of patched places to show wear and tear.

Dimlit gets a head


I start by sculpting a basic detailed underpinning of Dimlits head. I then add more beard, facial features, and helm. I also do some more cloak sculpting and begin sculpting cloak around arms and shoulders.

Dimlit gets horns


Using floral wire (22 Calibre) purchased at Michael's (same I used for the armature) I frame up some deer horns and fasten them to Dimlit's helmet by drilling holes in his head and supergluing the wire in. This will give me a firm base to build from with my epoxy and add strenght to the finished horns. I then add some epoxy underpinning to the frame.